Repotting: When and How to Ensure Your Plants Thrive
Spring is the season of new beginnings for plants. Longer days and warmer temperatures create ideal conditions for repotting. Doing it at the right time and correctly can significantly impact the health of your plants.
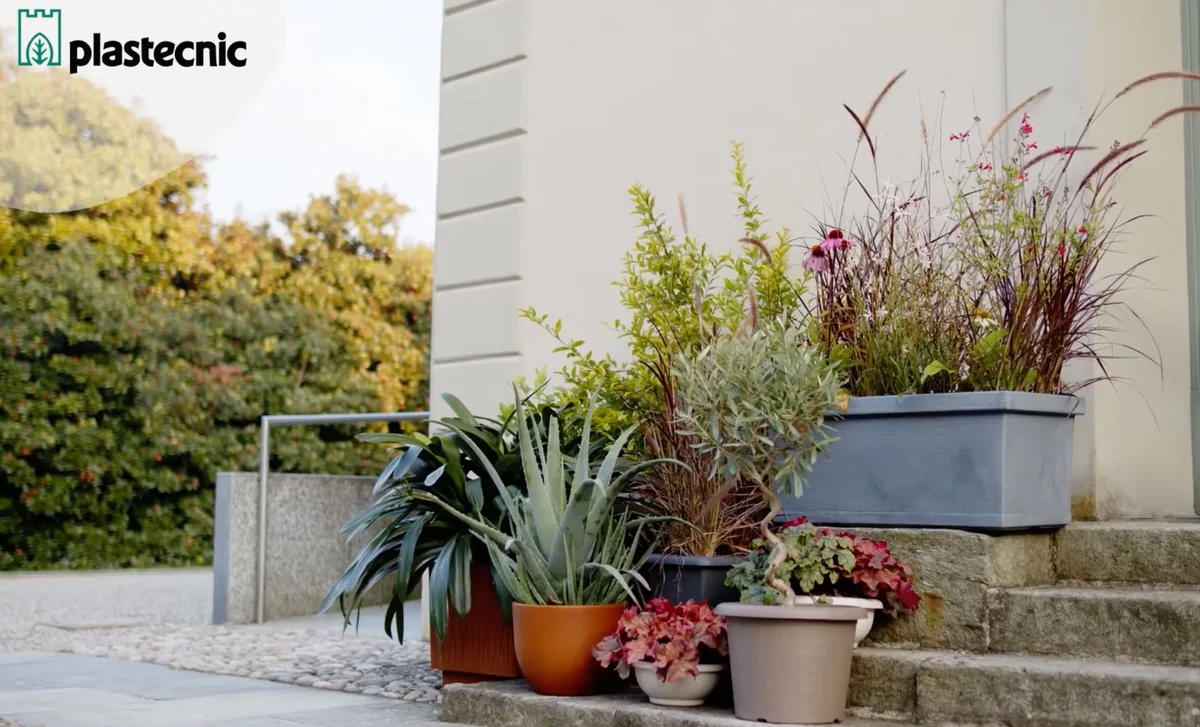
Spring heralds a time of renewal, not just for people but also for plants. As days lengthen and temperatures rise, the urge to cultivate or enhance green spaces creates the perfect conditions for repotting. Executing this task at the right time and in the proper manner can significantly impact the health and vitality of your plants, whether they are indoors or on balconies and terraces.
The Importance of Repotting
Every potted plant exists within a confined space. Over time, roots fill the available volume, the substrate becomes depleted, and the plant begins to suffer: growth slows, flowering diminishes, and vigor declines. Repotting is essential for restoring the space and resources that a plant requires.
This process is not merely about relocating the plant to a larger container. It serves as a moment of care—an opportunity to inspect the roots, refresh the soil, remove damaged parts, and provide the plant with a fresh foundation from which to thrive. Repotting is one of the most crucial actions you can take for your greenery.
Identifying the Right Time for Repotting
The ideal window for repotting falls between March and May during spring. However, there are specific signs that indicate when a plant needs repotting, regardless of the season. The most obvious sign is roots emerging from the drainage holes.
Additionally, if a plant dries out too quickly after watering or appears unstable and leans in its pot, it likely requires more space. Similarly, slow growth or yellowing leaves, despite regular care, can signal that the substrate is exhausted.
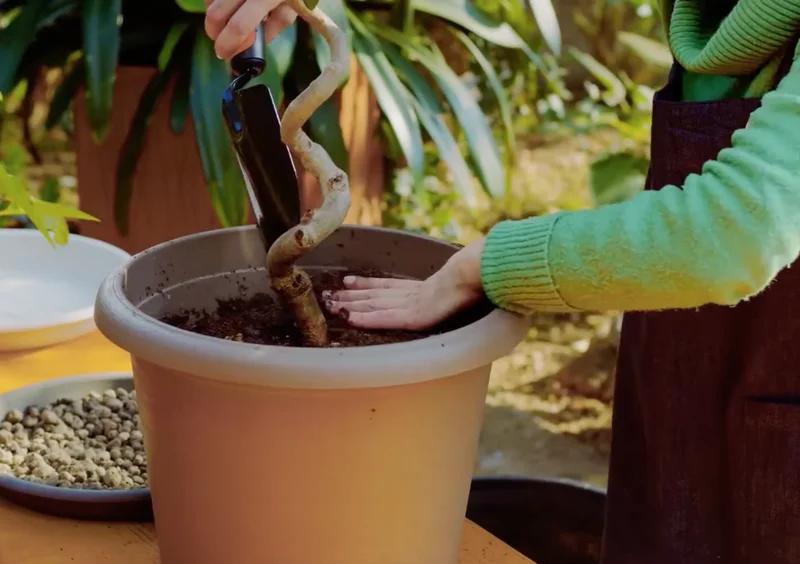
Step-by-Step Repotting Process
The process begins with selecting the appropriate pot. Contrary to common belief, a pot that is too large can be detrimental to the plant; excess substrate retains too much moisture and increases the risk of root rot.
Gently remove the plant from its old container, clearing away excess soil from around the roots and trimming any dry or damaged roots with clean shears. Next, position the plant in the center of the new pot, fill it with fresh substrate, and lightly compact the soil, leaving a few centimeters free from the edge to facilitate watering.
After repotting, water the plant thoroughly to help the substrate settle well around the roots. For the first few weeks, it is advisable to keep the plant in a bright location, shielded from intense direct sunlight, allowing it to acclimate without additional stress.
Choosing the Right Pot for Your Plant
Selecting the right container is a critical aspect of repotting. An ideal pot should ensure effective drainage, provide adequate space for the plant, and be made from quality materials, all while complementing the aesthetics of your environment!
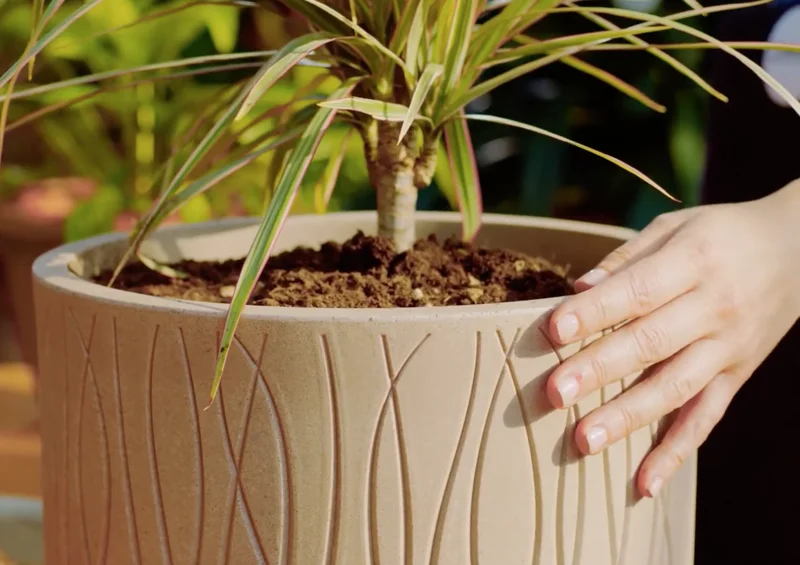
Plastecnic pots are designed with these principles in mind: their structure promotes proper aeration of the substrate, and the drainage holes are sized to prevent waterlogging. Whether you need a more compact and refined pot for an indoor plant or a larger, weather-resistant pot for a terrace plant, the Plastecnic range offers solutions for every need, allowing for cohesive arrangements when repotting multiple plants together.
A Source of Inspiration
If you want to see repotting in action, step by step, we have created a comprehensive video dedicated to this operation. On our Plastecnic YouTube channel, you can also find a wealth of other content. Practical gardening tips, ideas for seasonal arrangements, plant insights, and inspiration for maximizing your green spaces are all available. Each video is designed for those who cherish greenery and wish to cultivate it with care and awareness, as well as for those who secretly aspire to become true green lovers!