Creating a Shelter for Beneficial Insects: A Step-by-Step Guide
A shelter for beneficial insects attracts ladybugs, lacewings, and solitary bees, reducing aphids by an average of 37%. Use untreated wood, perforated logs (holes of 2 to 10 mm)...


Creating a refuge for beneficial insects can significantly enhance your garden's health, attracting creatures like ladybugs, lacewings, and solitary bees. According to a study by INRAE, these insects can reduce aphid populations by an average of 37%. To build an effective shelter, opt for untreated wood, perforated logs with holes ranging from 2 to 10 mm, and hollow stems.
Understanding the Role of Beneficial Insects
Gardens thrive on the presence of beneficial insects, the unsung heroes that work tirelessly to maintain balance in the ecosystem. For instance, an adult ladybug can consume up to 50 aphids in a single day, while lacewing larvae are even more voracious, devouring as many as 400 aphids in two weeks, as noted in the INRAE study. Encouraging these insects to inhabit your garden is a wise move.
Why Attract Beneficial Insects?
Utilizing beneficial insects for pest control is one of the most effective forms of biological management. It requires no chemicals or financial investment—just a little patience and observation. These insects not only protect your vegetables from pests like aphids and mealybugs, but they also pollinate your fruit and vegetable plants. Without them, crops like zucchini and tomatoes would struggle to thrive.
Which Species to Target in a French Garden?
Focus on attracting these five beneficial allies:
- Seven-spot ladybug: Feeds on aphids.
- Green lacewing: Its larvae are voracious predators.
- Mason and osmia bees: Early pollinators.
- Golden beetle: Preys on slugs and soil larvae.
- Earwig: Helps control aphid populations and thrives in a terracotta pot turned upside down.
One gardener shared that his earwig shelter reduced aphids on his roses by 60% in just one summer—an impressive feat!
How to Choose Suitable Materials?
Using natural and locally sourced materials is key. I recommend untreated wood, such as pine, oak, or chestnut, and avoiding chemically treated pallets. Perforated logs, hollow bamboo stems, elderberry, and bramble are excellent options. Pine cones, bark, straw, and hay can also be used effectively. Additionally, for a local touch, consider using hollow bricks and canal tiles typical of southern France.
Materials to avoid include:
- Treated wood (toxic to insects).
- Plastic and glass (can cause condensation and overheating).
- Undried resinous wood shavings (sticky resin).
A repurposed wooden crate or wine box can serve as a great structure. I learned this lesson the hard way when I used a painted pallet—resulting in zero insect visitors for two years.
How to Design Cavities for Each Species?
Each beneficial insect has specific needs. Here’s a quick reference table:
| Insect | Hole Diameter | Depth | Material | |--------------------|---------------|----------|-------------------------| | Solitary bee | 2 to 10 mm | 10 to 15 cm | Perforated log, bamboo | | Lacewing | Side slots | Closed box | Straw, hay | | Ladybug | Horizontal slots | Stack of thin boards | Boards spaced 3 mm apart | | Earwig | Upside-down pot | 15 cm | Straw, hay |
A golden rule is to never paint or varnish the inside of the cavities, as this can trap their wings. Think of it like organizing your garage: functionality is key, not aesthetics.
How to Assemble the Shelter Step by Step?
Let’s get practical. Here’s how I build my shelters:
- Prepare the structure: Assemble wooden planks into a box shape, 20-30 cm deep, leaving the bottom open for ventilation.
- Fill the modules: Drill holes in logs (2, 4, 6, 8 mm), stack hollow bricks, cut bamboo stems to 15 cm, and add straw with pine cones.
- Secure the elements: Use clay soil (a mix of soil and water) to stabilize them.
- Add a roof: Use a tile or an overhanging board (at least 5 cm overhang) to protect against rain.
- Install a mesh (optional): Use coarse mesh (15 mm) at the front to keep birds out while allowing insect access.
This method, which I’ve used for years, consistently yields positive results. While it requires some effort, the benefits are well worth it.
How to Install the Shelter in the Right Location?
Placement is crucial. I recommend positioning the shelter facing south or southeast to capture morning sunlight and provide some afternoon shade. It should be installed 1 to 1.5 meters above the ground, out of reach of rodents. Attach it to a south-facing wall, a wooden post, or against a hedge.
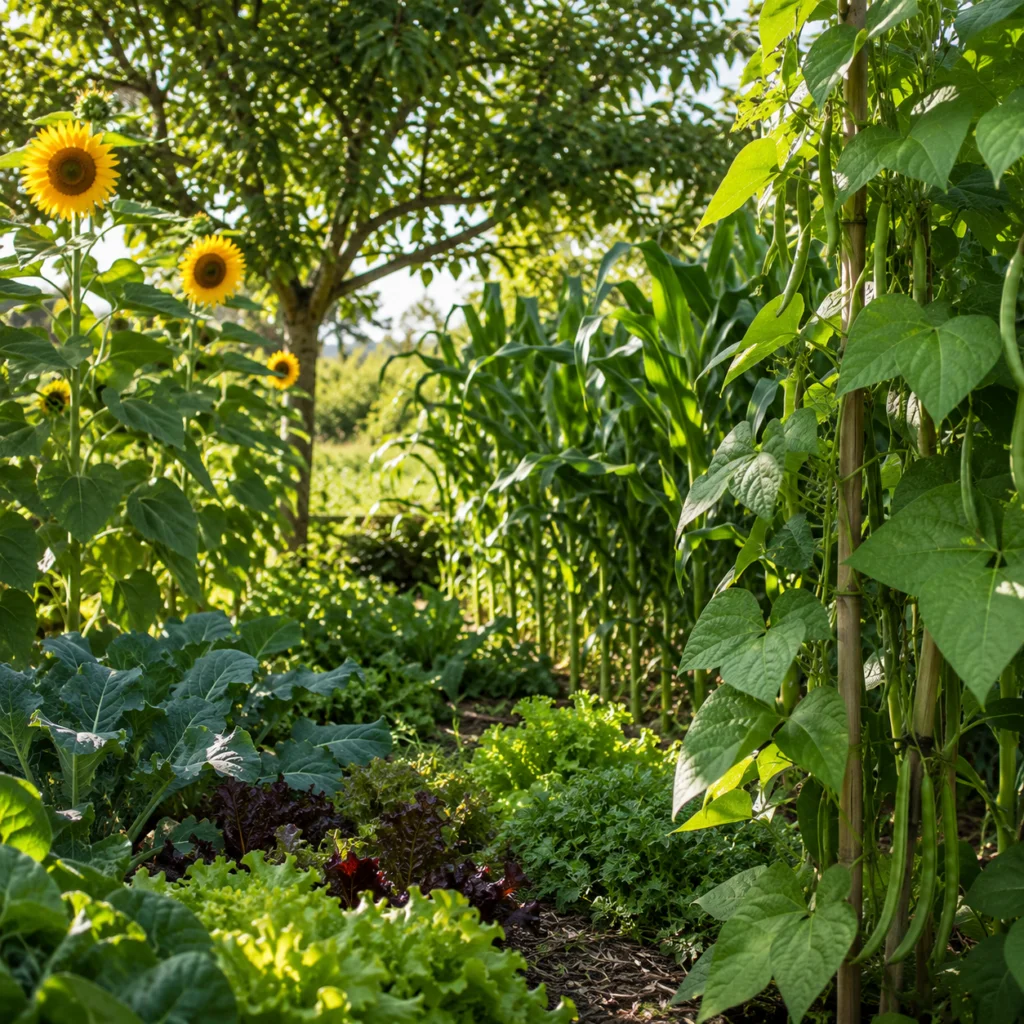
Additionally, plant nectar-rich flowers nearby, such as lavender, thyme, cosmos, and borage. These plants provide essential food sources for the insects. Ensure the shelter is situated away from birdhouses, as birds can be significant predators.
For those in humid regions (like Brittany or the North), raise the shelter by 30 cm and add a zinc or slate roof. In Mediterranean areas, place it in the shade during the afternoon to prevent overheating.
How to Maintain the Shelter Without Disturbing Residents?
Only clean the shelter once a year, in the autumn, after the insects have left. Remove cobwebs and empty wasp nests. Replace any blocked or moldy bamboo stems. Clean the perforated logs with a wire brush (no water).
Avoid cleaning in the spring, as this can harm eggs and larvae. Also, refrain from using any chemicals—adhering to this schedule makes a significant difference.
Common Mistakes to Avoid
I’ve seen many poorly designed shelters. Here are the most frequent blunders:
- Shelter too deep: Over 30 cm is excessive; insects need light and warmth, and humidity can build up.
- Sticky materials: Using glue or varnish inside? This can trap insect wings, leading to death.
- Through holes in logs: Holes should not go all the way through, as airflow can kill larvae.
- Too shaded location: Shelters placed in northern areas will be deserted; beneficial insects require warmth.
- Overly clean shelters: A bit of natural disorder is necessary. Leave some cobwebs and dust.
Frequently Asked Questions
How long does it take for insects to settle in?
It can take anywhere from a few weeks to an entire season. Patience is key. If your shelter is empty after a year, check its orientation and ensure there are no ants. Once, I had to move my shelter 2 meters to ensure it received full sunlight, and within three weeks, solitary bees arrived.
Can I buy a ready-made insect hotel?
Yes, but many are too small or poorly designed (plastic tubes, no roof). Look for models made from solid untreated wood with cavities of varying diameters. Expect to pay between €30 and €80 for a quality model. I prefer to build my own as it can be more tailored to my needs.
Will wasps occupy the shelter?
Solitary wasps (predators of caterpillars) are welcome. Social wasps (hornets) prefer closed cavities. If a hornet nest appears, consult a professional, as French law prohibits destruction without valid reason.
Should I feed the insects in the shelter?
No. The shelter serves as a refuge, not a feeder. Plant nectar-rich flowers (lavender, phacelia, clover) nearby to provide nectar and pollen.
What should I do in winter?
Leave it untouched! Insects are in diapause (hibernation). Clean only in autumn before the severe cold hits.
A poorly designed shelter is a waste of time and money. Follow these tips, and your garden will become a haven for biodiversity. Share your photos with the hashtag #MyInsectHotel, or ask questions in the comments. I’ll be happy to respond.