Clematis Care: Essential Tips for Thriving Vines
Discover essential tips for growing clematis, including planting times, care instructions, and troubleshooting common issues like lack of blooms and clematis wilt.
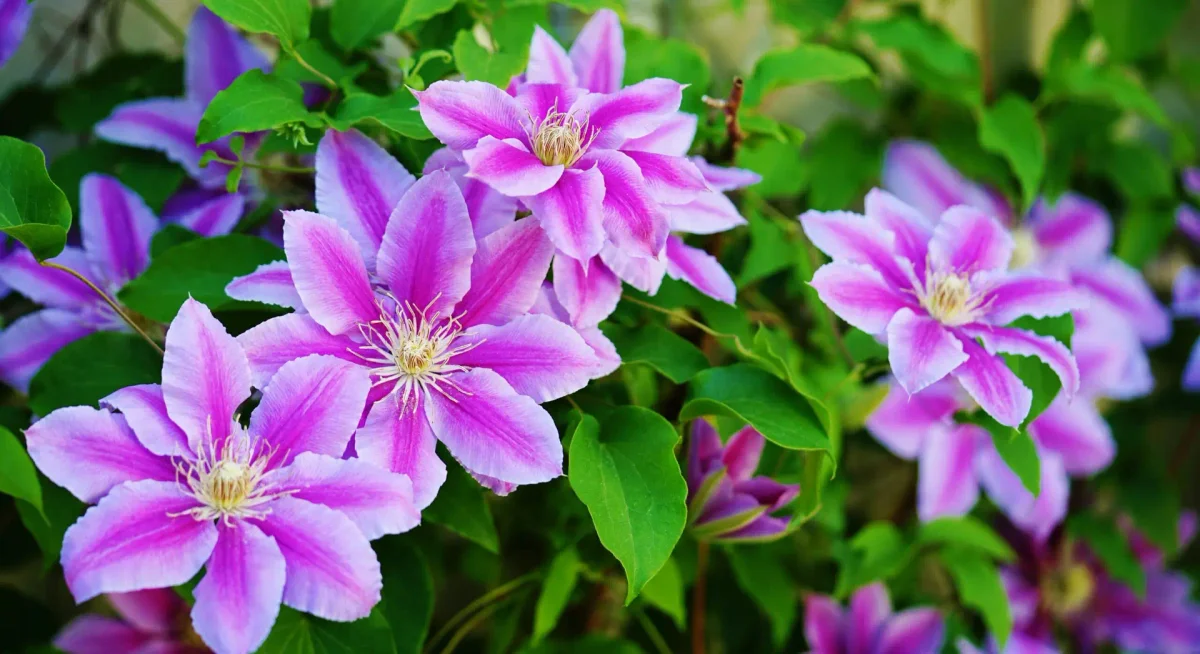
Are you familiar with clematis? You might initially think of grapevines when you hear the term, but clematis, also known as woodland vines, are a popular choice in many gardens. These climbing plants are not just found in the wild; they are adored for their stunning blooms, ranging from large, showy flowers to delicate bell-shaped varieties. However, they can be somewhat tricky to maintain, particularly regarding pruning and the notorious clematis wilt. Here’s a guide based on common questions to help you cultivate healthy clematis in your garden.
Planting Time and Location for Clematis
Question: When is the best time to plant clematis, and what is the ideal location?
Gardening Expert: The optimal times to plant clematis are in the spring or fall. This timing allows the plants to establish their roots before the intense heat of summer or the harshness of winter sets in. While container-grown plants can be planted in summer, they require more diligent watering.
An ideal location for clematis is bright and sunny, but it should not be excessively hot or dry. The vines need light for their growth, while the root area should remain cool and moist to prevent overheating and drying out.
Suitable spots often have climbing supports, and the soil should be rich, well-draining, and consistently moist. Avoid planting in dry areas under eaves, waterlogged spots, or extremely hot southern walls.
Sun Lovers with a Need for Shade
Question: Why should the base of the clematis be in the shade?
Gardening Expert: Clematis is unique in that it prefers sunny conditions for its growth while requiring shade at the base. This does not mean it needs to be in darkness; rather, the root zone should remain cool and evenly moist. Full sun can cause the soil to dry out too quickly, particularly if the plant is near walls or patios, which can stress the plant. Here are ways to protect the root area:
- Cover the soil with bark mulch, leaf compost, or other organic materials.
- Plant low-growing perennials or summer flowers in front of the clematis.
- Use a flat stone, a piece of clay pot, or a small board to provide shade for the root zone.
- For container plants, choose a sufficiently large pot to help insulate the root ball from excessive heat.
- Water evenly on hot days without causing waterlogging.
However, do not plant clematis next to aggressive plants that may overshadow it or compete for nutrients and water.
Importance of Planting Depth
Question: What should I consider regarding planting depth?
Gardening Expert: Clematis should be planted deeper than their original pot depth, typically about 5 to 10 centimeters deeper. This technique protects the lower buds and allows the plant to regenerate from the base if it suffers damage or wilt.
Ensure the root ball is well-watered before planting, and dig a hole deep enough to keep loose soil beneath the ball, preventing it from being placed in hard, compacted soil. For heavy soils, a drainage layer of coarse sand or gravel is advisable, as clematis does not tolerate waterlogging well.
Additionally, be gentle with the plant as the stems are sensitive at the base. Plant carefully, fill in the soil loosely, and only lightly compress it. Water thoroughly afterward and maintain consistent moisture in the soil for the first few weeks.
Providing Support for Your Clematis
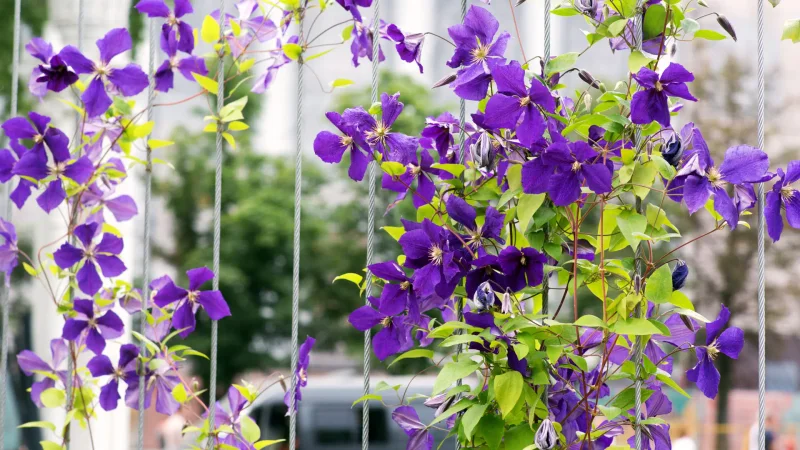
Question: What kind of support is suitable for my clematis?
Gardening Expert: Unlike some climbing plants, clematis does not have adhesive roots; it relies on its leaf stems to cling. Therefore, it requires a support structure with thin bars, wires, or strings that it can wrap around. Thick beams, smooth walls, or wide slats are not effective.
Support Type | Suitable For --- | --- Trellises | Beds, house walls with spacing, fences Tension Wires | Facades, walls, narrow surfaces Obelisks | Single plantings in beds or large pots Arches | Vigorous varieties and romantic garden corners Pergolas | Strong-growing and larger clematis types Light Shrubs | Natural combinations, provided there is enough light
Ensure there is adequate space between the plant and any wall. If planted too close to a hot wall, heat can build up, and the soil may dry out too quickly. For wall plantings, the support should be set a few centimeters away to allow for air circulation and prevent the stems from resting directly on the surface.
For weaker varieties, a smaller trellis or an obelisk may suffice. However, robust clematis require a sturdy structure that will endure for years. It’s advisable to install the support before planting so that the young stems can be guided properly from the start.
Caring for Your Clematis
Question: How often should I water and fertilize my clematis?
Gardening Expert: Clematis needs regular watering, especially during the establishment phase and dry spells. The soil should remain consistently moist but not soggy, as the plant is sensitive to waterlogging. Pay special attention to watering:
- After planting for the first few weeks
- During prolonged dry periods
- At sunny, warm locations
- If the clematis is in a pot
- During bud formation and blooming
Thorough watering at larger intervals is preferable to daily shallow watering, as this allows moisture to penetrate deeper into the soil, keeping the roots hydrated beyond the surface.
Fertilization should occur in spring when the clematis begins to grow anew. Compost, organic garden fertilizer, or a fertilizer formulated for flowering plants are ideal. A second moderate application may be beneficial after the first bloom, especially for varieties that bloom again later in the season.
Troubleshooting: Why Aren't My Flowers Blooming?
Question: What could be the reason my clematis isn't blooming?
Gardening Expert: Several factors could lead to a lack of blooms. Most often, it’s due to care errors, but other possibilities exist.
Cause | Reason | Solution --- | --- | --- Incorrect Pruning | Flowering shoots were removed | Check the pruning group and adjust timing Insufficient Light | Shoots are too shaded | Choose a brighter location or thin out neighboring plants Young Plant | Clematis needs time to establish | Be patient in the first year Excess Nitrogen | Too much foliage, few blooms | Fertilize more balanced, avoid overdoing it Drought Stress | Buds are not receiving proper care | Water consistently Late Frost | Young buds or shoots were damaged | Choose a protected location and monitor growth Weakened Plant | Roots, wilt, or waterlogging hinder growth | Check soil and plant health
Pruning According to Groups
Question: What do the pruning groups mean, and how should I prune best?
Gardening Expert: The pruning group indicates when a clematis blooms and where the flowers are located on the stems. This determines whether you need to prune lightly, moderately, or heavily. The most common mistake is treating all clematis the same way.
Pruning Group | Bloom Time | Pruning Method --- | --- | --- Group 1 | Early in the year, usually April or May | Minimal pruning, just thinning or cutting back after flowering Group 2 | May/June, often with a second bloom in late summer | Light pruning in February/March, remove faded flowers after the first bloom Group 3 | Summer to fall | Prune back heavily to about 30 to 50 cm in February/March
In Group 1, flowers bloom on older stems, so a heavy spring pruning would remove many flower buds. Here, it’s sufficient to remove dead, overcrowded, or obstructive stems.
For Group 2, a cautious pruning is advisable. Remove weak and dead stems and only moderately shorten the others. After the first bloom, you can cut back faded flowers to help the plant gather strength for a potential second bloom.
Group 3 clematis bloom on new growth, requiring a strong cut to encourage fresh growth from the base and prevent the plant from becoming bare.
If you are unsure of the pruning group, it’s safer to prune lightly. A strong cut is riskier for an unknown clematis than a more restrained approach.
Growing Clematis in Containers
Question: What should I consider when growing clematis in a pot?
Gardening Expert: Clematis in containers can be more delicate than in garden beds due to limited root space. The root ball dries out more quickly, heats up more, and can easily freeze in winter. Therefore, it’s essential to focus on a sturdy pot, good drainage, and consistent care. Key points include:
- A minimum volume of 30 to 40 liters, more for vigorous varieties
- Drainage holes in the bottom to prevent waterlogging
- Humus-rich, structurally stable potting soil
- Install support at planting time
- Bright location without prolonged pot heat
- Regular watering, especially in summer
- Moderate fertilization in spring and summer
- Protect pots in winter from severe freezing
When choosing varieties, compact clematis are usually more practical than very vigorous types. Be cautious with large, dark, or very small pots: dark pots heat up quickly, small pots dry out too fast, and they can easily tip over when supported.
Protecting Against Clematis Wilt
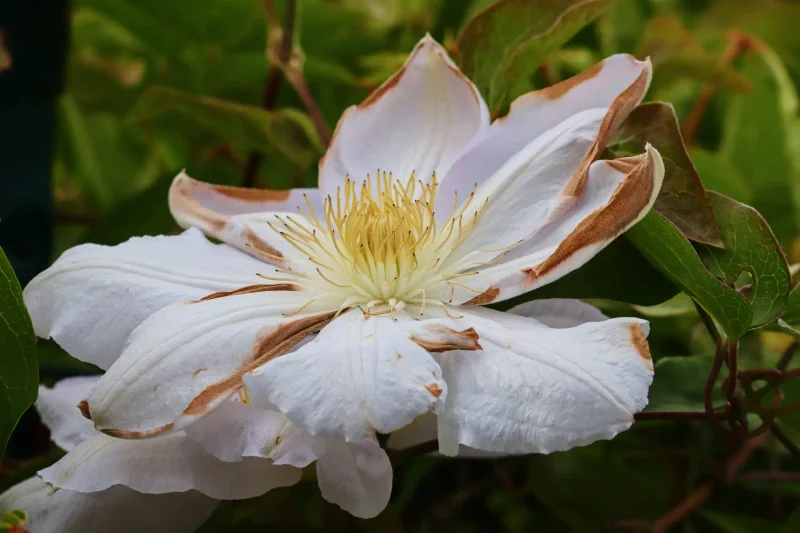
Question: How can I protect my clematis from wilt?
Gardening Expert: Clematis wilt primarily affects large-flowered hybrids, where individual shoots may suddenly wilt despite the plant appearing healthy. This condition is caused by fungal diseases that can enter through damaged or weakened plant parts. While complete prevention may not always be possible, you can significantly reduce the risk.
Measure | Solution --- | --- Plant Deeply | The clematis can resprout from lower buds after an infection Airy Location | Wet foliage dries faster Keep Root Zone Evenly Moist | Drought stress weakens the plant Avoid Waterlogging | Damaged roots make the plant more susceptible Carefully Tie Up Shoots | Reduces breakage and abrasion Use Clean Tools | Prevents unnecessary transfer of pathogens Immediately Remove Infected Shoots | Limits the spread of the fungus
Cut back wilting shoots to healthy wood and do not compost them. Continue to care for the plant and do not give up too quickly. Deeply planted clematis often resprout from the base after a wilt attack.
Many small-flowered types and varieties, such as Clematis viticella, Clematis alpina, or Clematis montana, tend to be more resilient. If you repeatedly encounter issues at a specific location, choosing a more robust clematis is advisable instead of replanting the same delicate variety.
Winter Protection
Question: Is there anything special to consider for winter care?
Gardening Expert: Most clematis are quite hardy in the garden and do not require extensive winter protection once they are established in a suitable location. However, young plants, newly planted clematis, and those in containers are more sensitive.
In the garden, a light covering of mulch is usually sufficient to protect established plants during the winter months. For potted clematis, it’s important to insulate the pots against freezing temperatures to ensure their survival through the colder months.