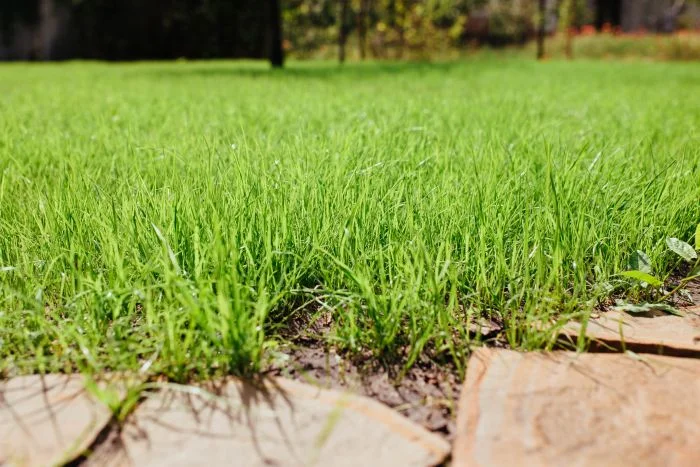
How to Level Your Garden: Techniques and Tools Based on Area Size
Learn effective methods and tools for leveling your garden based on area size. Discover the importance of proper soil preparation and how to avoid common mistakes.
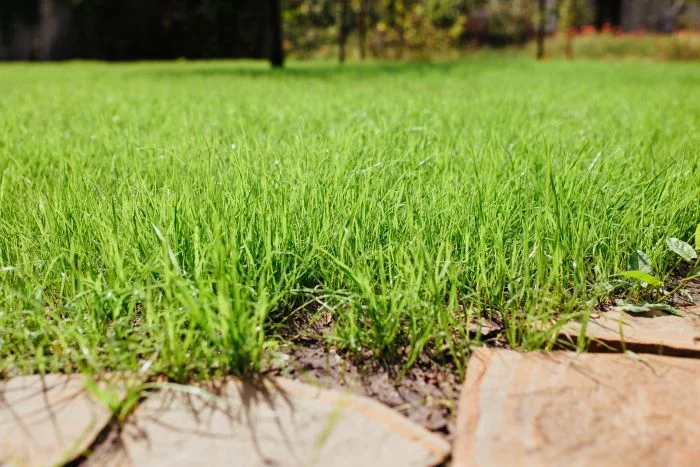
A well-leveled garden is crucial for achieving a uniform and functional lawn. Proper soil preparation enhances the quality of the seedbed, minimizes surface irregularities, and promotes even drainage, thereby reducing the risk of water stagnation and difficult-to-manage unevenness over time. Before planting seeds or laying sod, it is essential to carefully check for holes, depressions, and incorrect slopes.
The approach to leveling depends largely on the size of the area and the initial conditions of the soil. For smaller gardens, manual work may suffice, while larger areas, such as parks, nurseries, and greenhouses, often require professional equipment for more precise leveling.
- Why leveling your garden soil is important
- How to assess the unevenness
- How to manually level a small garden
- Clean and prepare the area
- Correct holes and depressions
- Smooth the surface with a rake
- Settle the soil
- Leveling large areas, parks, greenhouses, and nurseries
- Leveling and drainage must be planned together
- Common mistakes to avoid
Why Leveling Your Garden Soil is Important
The concept of leveling does not mean making the ground perfectly flat. In many cases, it is advisable to maintain or create a slight slope to allow rainwater to drain away from buildings or low-lying areas, especially if no rainwater collection system has been designed.
Inadequate preparation can lead to various issues:
- formation of puddles and stagnation;
- irregular grass growth;
- areas that dry out too quickly;
- difficulties when mowing;
- uneven distribution of irrigation water;
- sinkholes and depressions over time.
Leveling is particularly important when establishing a new garden, completely renovating a lawn, or working on land affected by excavation, construction, or frequent vehicle traffic.
The work should be carried out when the soil is slightly moist but not wet. Soil that is too dry can become hard and difficult to work with, while intervening after heavy rains risks excessive compaction.
Typically, the best times coincide with spring and early autumn, especially if seeding is planned after leveling. However, specific conditions depend on the local climate, soil type, and the desired vegetation.
Before starting, it is also necessary to check for irrigation systems, pipes, cables, pits, or other buried elements.
How to Assess the Unevenness
In a small garden, an initial assessment can be made by observing the ground after heavy rain or irrigation. Areas where water tends to pool often indicate depressions or insufficient drainage.
For more precise checks, you can use:
- stakes;
- string;
- a bubble level;
- a straightedge;
- a laser level.
The stakes are placed along the perimeter and at key points in the area. Stretching a string between reference points helps identify differences in elevation and determine where to add or remove soil.
For larger surfaces or complex slopes, it is advisable to consult a professional, especially when leveling needs to be coordinated with drainage systems or other landscaping work.
How to Manually Level a Small Garden
When the unevenness is minimal and the area is not particularly large, the soil can be adjusted using standard gardening tools.
Clean and Prepare the Area
The first step involves removing stones, roots, plant debris, and other materials that may hinder the work. If the area is covered by a severely deteriorated lawn, it may be necessary to remove the old sod.
The soil should then be loosened with a spade, hoe, or tiller, working to a depth suitable for the type of intervention. This operation breaks up clumps and makes it easier to distribute the soil later.
Correct Holes and Depressions
Lower areas should be filled with soil that is compatible with the existing material. Before adding, it is advisable to slightly loosen the underlying surface to ensure better adhesion between the two layers.
Soil should be added gradually, avoiding thick accumulations at once. If a depression is deep, it may be necessary to proceed in layers, compacting them moderately.
Soil removed from higher points can be reused in lower areas, provided it is suitable and free of debris.
Smooth the Surface with a Rake
After correcting the main unevenness, a rake is used to break up smaller clumps and evenly distribute the soil.
To check the results, it can be helpful to place a straightedge or a long board on the surface. This allows for easier identification of any remaining depressions and enables intervention before compaction.
Settle the Soil
The surface can be settled using a garden roller or by evenly walking on the soil. However, compaction should not be excessive, as overly pressed soil hinders drainage, air circulation, and root development.
After the initial settling, it is advisable to lightly water the soil and let it rest. New small depressions may appear, which should be corrected before seeding or laying sod.
Leveling Large Areas, Parks, Greenhouses, and Nurseries
Hand tools are suitable for small gardens and localized corrections but become inefficient for larger areas.
Preparing parks, public gardens, nurseries, greenhouses, or large green spaces requires precise control of elevations and slopes across the entire surface. Even seemingly minor differences can affect water distribution, drainage, and soil regularity.
In these cases, mechanical means and control systems are employed to remove soil from higher points and transfer it to lower areas according to the established work plan.
Available equipment includes laser levelers for greenhouses and gardening, such as those produced by Mara, designed to achieve a smooth surface and accurately control the blade height during operation.
This type of intervention is particularly suitable when:
- the area to be worked on is large;
- widespread unevenness is present;
- precise slopes are required;
- soil preparation is needed for new planting;
- drainage depends on the correct arrangement of elevations;
- available time does not allow for manual work.
The choice of machinery must also consider the area size, the amount of soil to be moved, the soil characteristics, and the equipment's power.
Leveling and Drainage Must Be Planned Together
An aesthetically uniform surface does not alone ensure proper water disposal. Before starting work, it is necessary to establish where drainage will be directed and verify that slopes do not lead toward buildings, walls, walkways, or structures sensitive to moisture.
In clayey, compacted, or prone to stagnation soils, it may be necessary to complement leveling with other interventions, such as:
- improving soil structure;
- installing drainage pipes;
- creating channels;
- preparing collection pits;
- adding more draining materials.
For complex works, it is advisable to consult a technician or a specialized company that can simultaneously evaluate elevations, slopes, soil characteristics, and water management.
Common Mistakes to Avoid
One of the most frequent mistakes is adding soil to holes without identifying the cause of the depression. If the issue arises from settling, unstable soil, or inadequate drainage, the depression may form again.
It is also important to avoid:
- working on waterlogged soil;
- burying debris or plant residues;
- creating slopes toward buildings;
- excessively compacting the soil;
- seeding before the soil has settled;
- using soil that is very different from the existing material;
- evaluating elevations only by eye on large surfaces.
Thorough preparation may take more time but reduces the need for subsequent corrections and facilitates all maintenance activities.