Creating a Perennial Plant Bed: A Step-by-Step Guide
Creating a perennial plant bed involves several key steps. Here's how to effectively prepare the soil and plant your perennials for a thriving garden.
Establishing a perennial plant bed involves a series of methodical steps that can transform your garden. Here’s how I organized my day to bring this vision to life.
Preliminary Work
Soil preparation is a crucial yet often tedious first step. Begin by raking the gravel and removing the larger stones that are visible on the surface. The presence of numerous "fossilized mole eggs," a playful term for these stones, indicates that a pickaxe will soon be necessary. After a few minutes of digging, it becomes evident that the ground is a nest of rocks, all encased in tightly packed soil.
Using the pickaxe is akin to a surgeon wielding a scalpel, albeit a heavier one. Care must be taken to avoid underground pipes, protect tree roots, and ensure the handle doesn’t break. Most importantly, the gardener’s back must be safeguarded. Each strike should be precise and clean, though occasionally, the impact can resonate through the wrists and shoulders when the pick encounters something particularly stubborn.
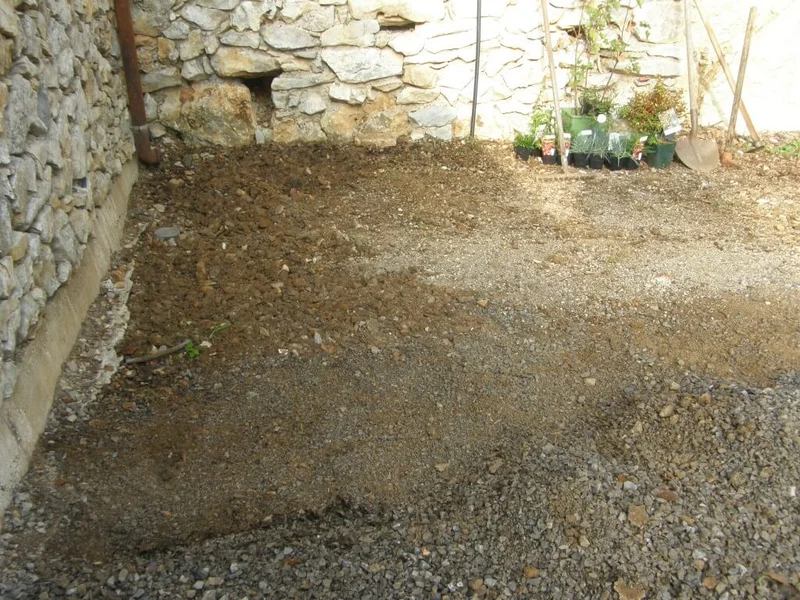
After about half a day’s work, the soil is turned over to a depth of 20 centimeters.
Next, I use a claw and rake to loosen the planting bed further, making it less rocky. Two wheelbarrows full of debris are removed to fill in the gaps in the pathway. After all, those stones shouldn’t be lounging around doing nothing; recycling is key.
Considering Existing Features
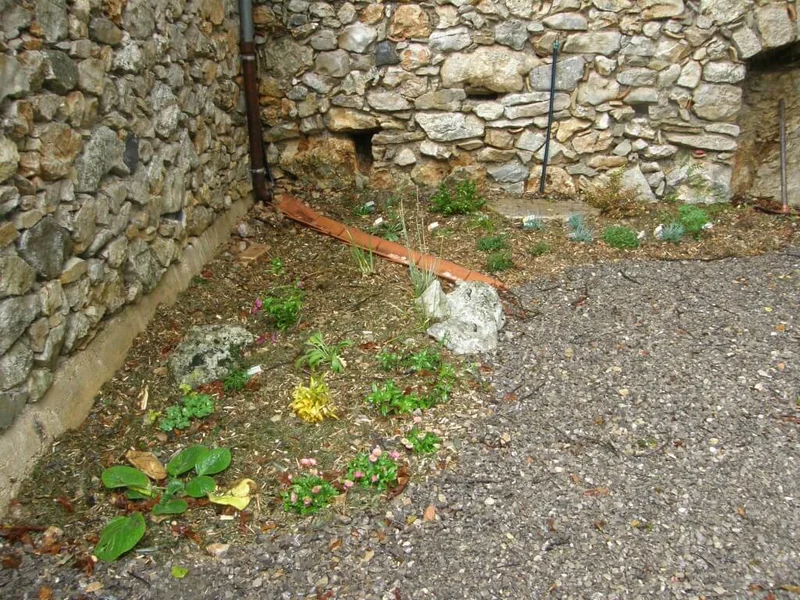
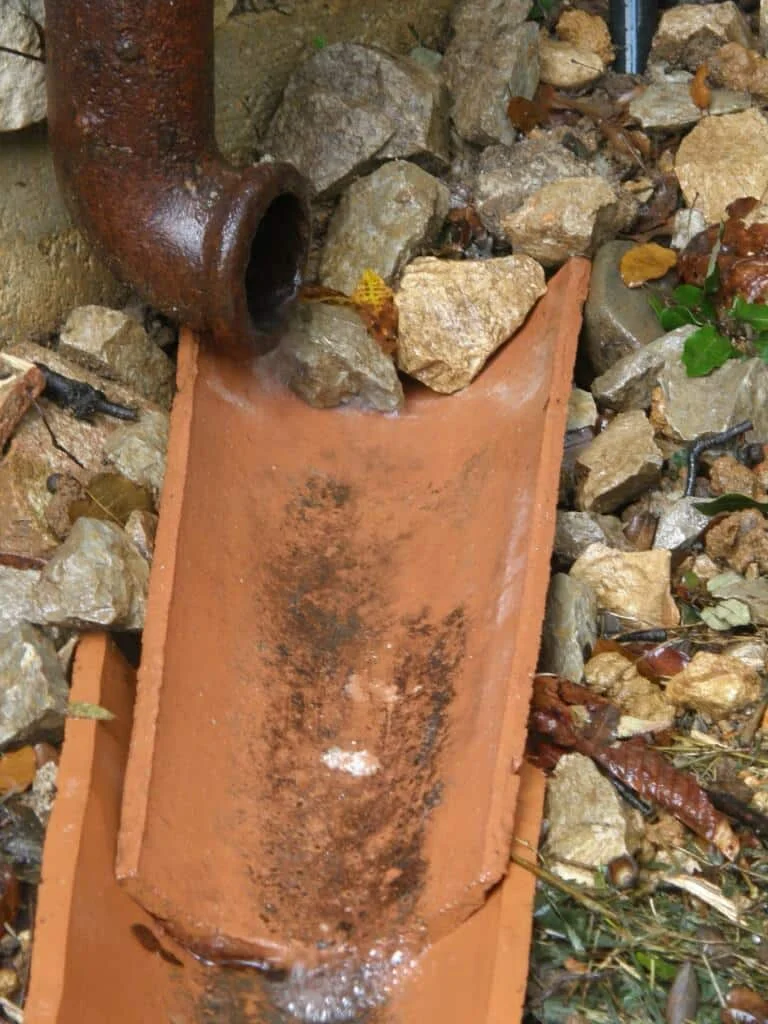
It’s essential to work with what’s already there, including a faucet in the wall and a gutter that spills water at the slightest rain.
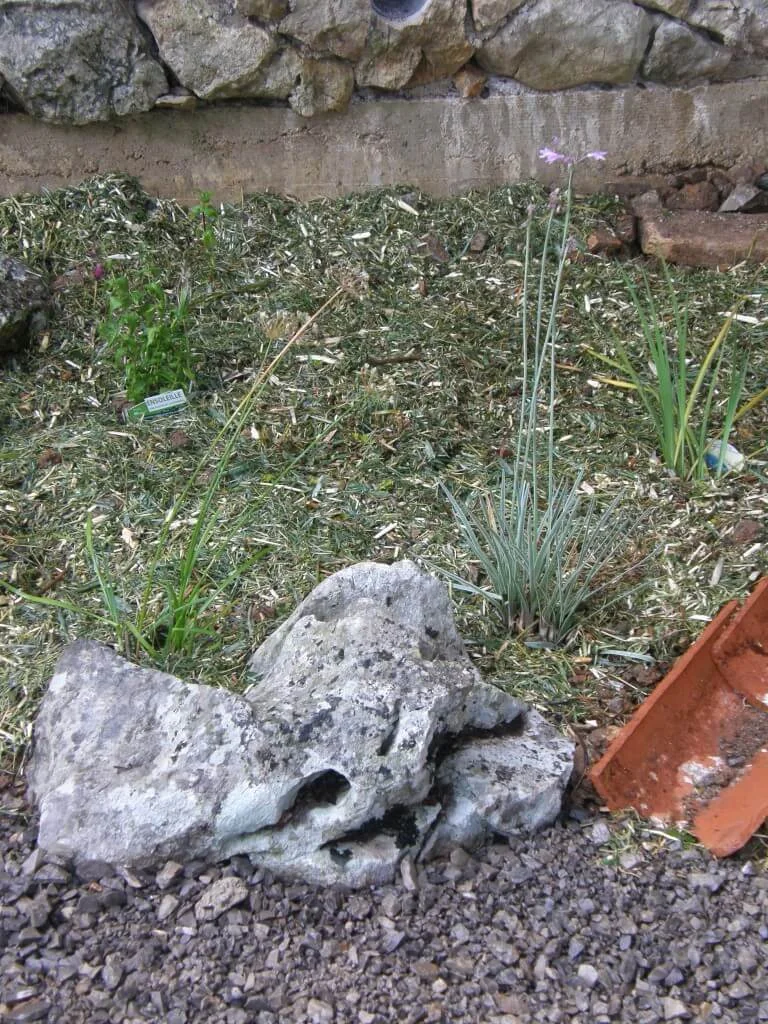
A flat stone serves as a base for my feet while watering, and an arrangement of upturned tiles directs water away from the plant bed. Since the ground slopes, water will naturally flow between the gravel. At the end of the tile pathway, I placed a small rock, which I’ve whimsically named Gasper due to its ghostly appearance. This stone also protects the edge of the last tile, preventing any accidental kicks that could displace it.
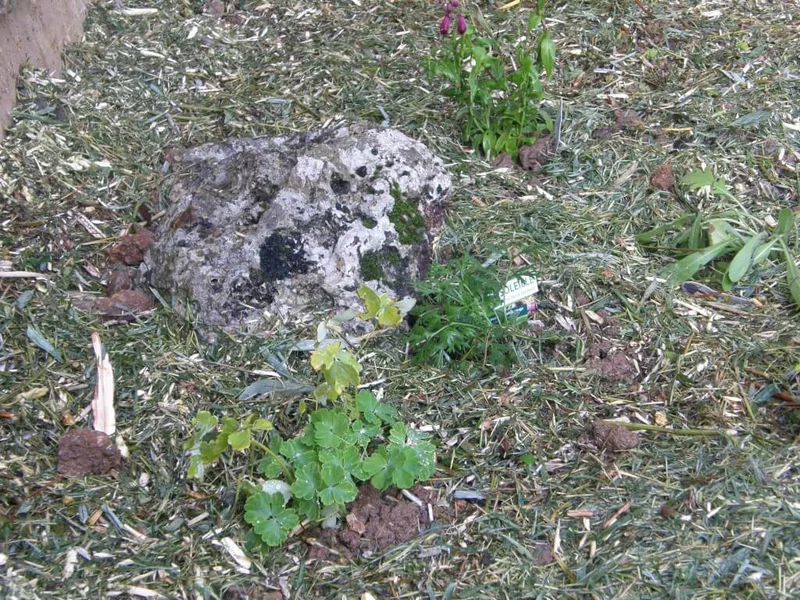
Now comes the time for planting. I spread compost, add some organic fertilizer (using up the bottom of the bag), and top it off with chipped green oak branches. The plants may be a bit crowded initially, but they will serve as mother plants for future divisions into other beds. You are now the proud creator of a perennial plant bed!
And here’s the transformation: before and after!
To prevent tired-looking perennials, here’s my selection: