June Gardening Tips for a Thriving Permaculture Garden
Explore essential June gardening tips for permaculture enthusiasts, including flavored salts, direct sowing of squash, and effective watering strategies.
The month of June presents a prime opportunity for gardeners, as soil temperatures rise and the intense summer heat has yet to set in. This is the perfect time to plant your summer crops. As you prepare your garden, consider implementing some helpful techniques and tips to enhance your gardening experience.
Create Your Own Flavored Salts
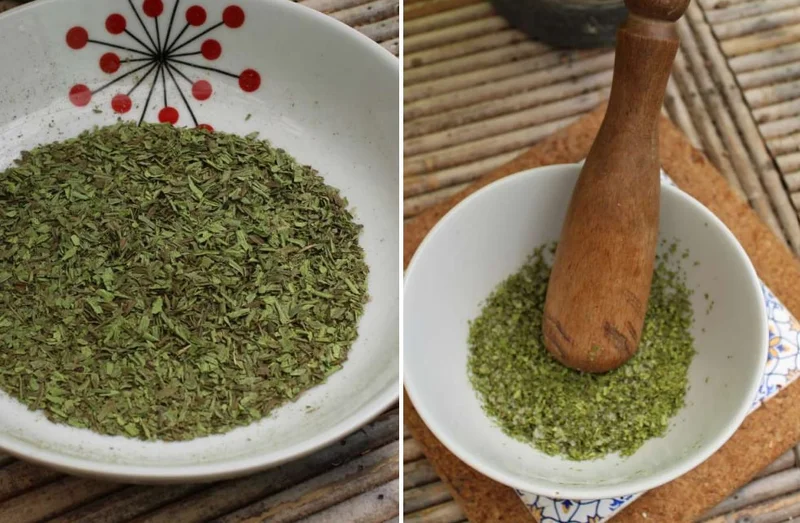
One of the joys of gardening is crafting your own condiments, and flavored salt is a delightful example. This simple yet effective method not only preserves the flavors from your garden but also elevates even the simplest dishes. To make flavored salt, dry your herbs in the shade for a few days, separating leaves from stems to maintain their aroma. Once dried, grind the herbs with a small amount of salt (ideally unrefined sea salt rich in minerals) before mixing in the rest. A ratio between 30% to 60% herbs works well, with a 50/50 blend being effective for most. You can experiment with various herbs such as thyme, hyssop, anise hyssop, dill, tarragon, mint, rosemary, and lovage. Lovage salt, for instance, has a celery-like flavor that pairs wonderfully with salads, grains, or soups. This method helps to extend your harvest and reduce waste while bringing the essence of your garden to your meals!
Direct Sowing of Squash
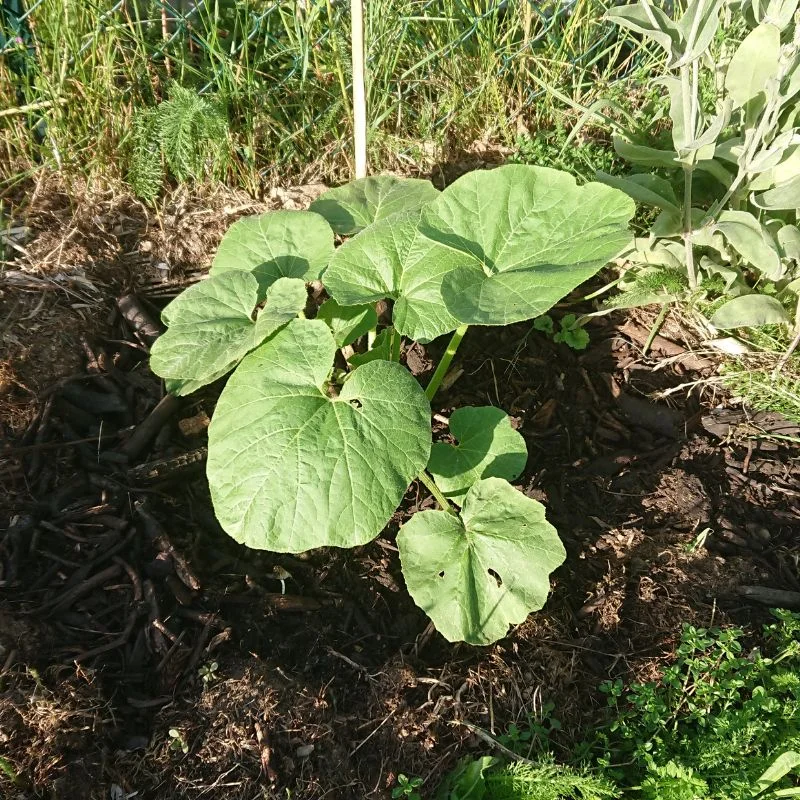
Squash thrives when directly sown into the garden. This approach eliminates the need for transplanting, saving time and allowing the plants to grow more robustly. However, slugs can pose a threat to young plants. To increase your chances of success, sow 3 to 4 seeds per hole. This way, even if some are eaten, at least one will survive. It is still possible to sow squash from early to mid-June and expect a harvest by the end of the season. For next year, consider starting earlier!
Extend Your Zucchini Harvest
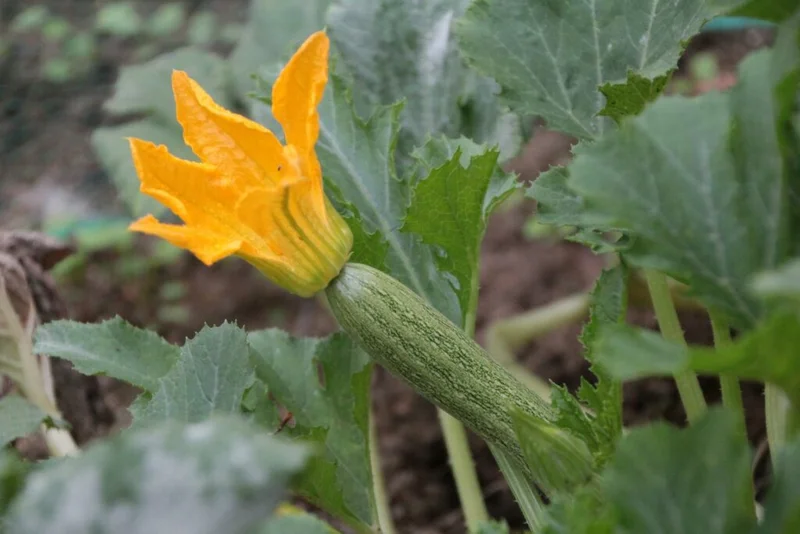
Zucchini planted in April or May can begin to decline by August. To prolong your harvest, consider sowing a second batch of seeds between mid and late June. These new plants will start producing by the end of August. This strategy also helps mitigate issues with powdery mildew, as the new plants can take over when the older ones start to tire. Additionally, the long squash from Nice can yield zucchini throughout the season, allowing you to harvest young fruits while saving some for winter storage.
Leave Roots in the Soil
As spring crops make way for summer varieties, consider cutting your plants at soil level rather than uprooting them. This practice allows organic matter to decompose in the soil, enriching it. The same can be done with weeds that do not regrow from the crown. Leaving the roots in place can reduce the need for soil disturbance and minimize the emergence of new weeds. Over time, if you avoid bringing soil onto your mulch, you’ll notice significantly fewer weeds. However, keep an eye out for persistent weeds like bindweed.
Melon Needs in Numbers
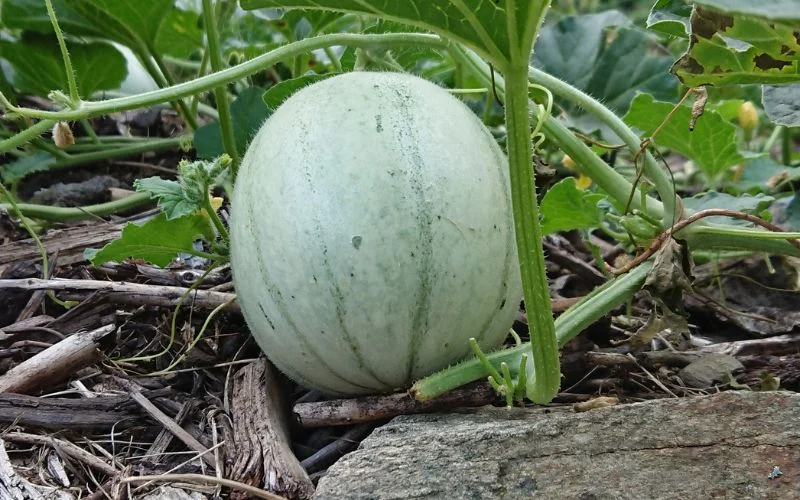
Understanding the specific requirements for growing melons can enhance your success:
- 16°C: Minimum germination temperature; ideally, aim for 20 to 25°C.
- 45 days: Minimum time from pollination to harvest.
- 15 to 20°C: Ideal nighttime temperature.
- 20 to 25°C: Ideal daytime temperature; melons suffer at 28/30°C.
Create an Express Growing Zone
For a quick and efficient way to cultivate on grass or a lawn, consider this method to create a productive growing area ready for sowing by autumn. You can transform a patch of grass into zucchini plants in just a day! Here’s how:
- Clear a 30 cm square of grass.
- Loosen the soil around the hole, creating a small basin.
- Plant your seedling directly into the prepared hole with some compost.
- Cover the surrounding area with a thick layer of organic material (30 cm if possible!).
If the material is high in carbon, consider watering with diluted urine to prevent nitrogen deficiency, or start with a layer of grass clippings.
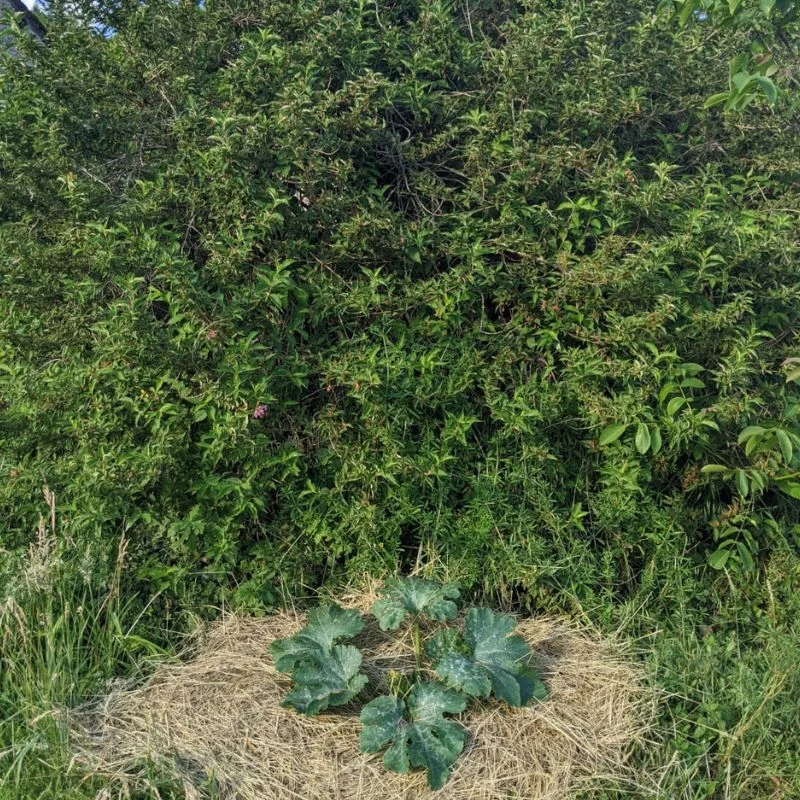
Your plant will thrive, producing fruit while the mulch keeps the soil clean for future crops. Just be prepared to spend a few minutes weeding stubborn invaders!
Molehills Helping Butterflies?
While molehills can be a nuisance in gardens, they might actually support butterfly populations. An article from Zoom Nature explains how molehills can aid the reproduction of the copper butterfly. The sorrel, a host plant for this butterfly, tends to grow on or near molehills, creating a microclimate that is more favorable for the caterpillars. The soil in molehills warms up quicker than surrounding vegetation, providing the heat that the caterpillars need. So, before you decide to eliminate those molehills, consider the benefits they may bring to your garden’s biodiversity!

Watering Wisely
As summer approaches, proper watering becomes crucial, especially in non-clay soils. Watering in the morning is ideal to avoid creating a damp environment at night, which can lead to disease. Evening watering can be reserved for heatwaves. If rain is forecasted in May or June and your soil is dry, pre-water your garden to improve water penetration during rainfall. Additionally, tilling the soil around exposed crops can break up hard crusts, allowing water to soak in more effectively.
Don’t forget that mulching helps retain soil moisture but can also slow down water penetration, so monitor soil moisture levels regularly.
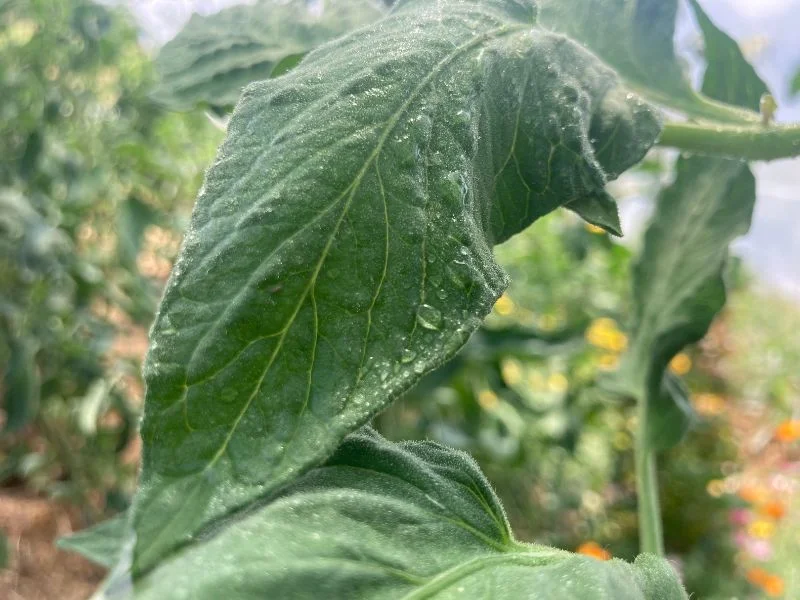
Water Before Thinning
A useful technique for thinning plants is to water the area 15 minutes before you begin. This softens the soil, making it easier to pull out the desired plants without disturbing others. This method also works for weeds!
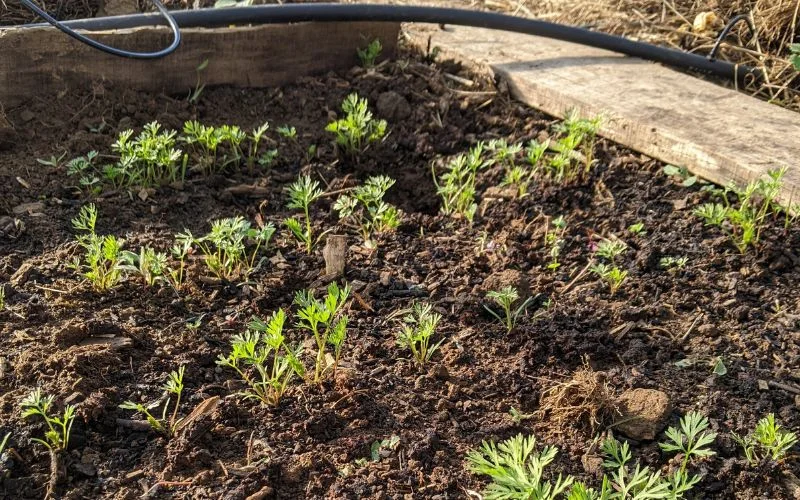
While some plants, like carrots, do not transplant well, others, such as turnips and beets, can be successfully replanted during thinning, provided you handle them gently.
Elderflower Refreshments
Elderflower blooms make for a delightful and nearly free sparkling beverage! However, this year, the elderflowers have bloomed earlier than usual, so it may be too late for this season.
Ingredients:
- 2 L of water
- 15 to 20 elderflower clusters
- 200 grams of sugar
- 2 lemons
Recipe:
Combine the flowers (only the blossoms, removed from the clusters), sugar, and lemon pieces in a jar. Pour the 2L of water over the mixture. Allow it to macerate for 4 to 5 days, stirring daily. Cover the jar with a cloth to allow air to escape while keeping it covered. Afterward, strain the mixture and store the resulting beverage in bottles with mechanical caps. Let it ferment again for a few days, and enjoy your homemade elderflower drink!