Elevate Your Gardening with Hanging Baskets
Discover how to create stunning hanging baskets that elevate your gardening game, perfect for small spaces. Learn about plant selection, care tips, and seasonal ideas.
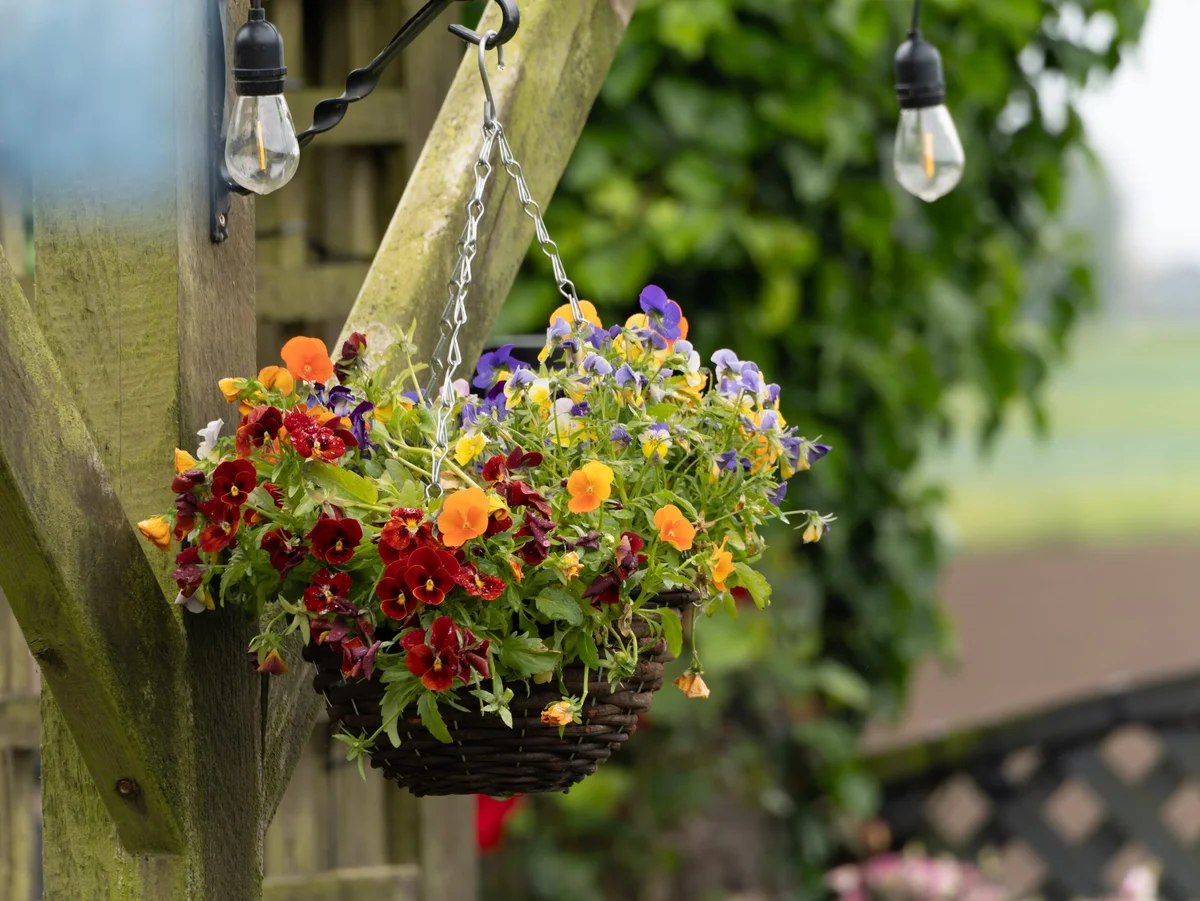
In urban living, where space is often at a premium, balconies can feel cramped with just a few chairs and a table. However, even the smallest outdoor areas can be transformed into lush gardens with the clever use of hanging baskets. These innovative planters allow you to create a vibrant floral display at eye level or higher, turning an ordinary wire basket into a suspended garden.
The Benefits of Hanging Baskets
Hanging baskets are designed to be suspended from various structures such as wall brackets, pergolas, balcony railings, roofs, or awnings. They are a fantastic solution for maximizing space, especially when floor area is limited. Unlike traditional flower pots that sit in a hanging holder, hanging baskets are lined, filled with soil, and planted all around, making the wire frame nearly invisible as the plants grow.
To achieve a visually appealing arrangement, it’s beneficial to use a variety of plant growth forms. Upright plants add height, while trailing varieties can spill over the edges, creating a full, spherical look rather than just a pot of flowers.
Getting Started with Your Hanging Basket
If you're eager to create a hanging basket, it's essential to ensure that your basket, liner, soil, and suspension system are compatible. As the basket will become heavier after watering, a sturdy support is necessary. Here’s what you’ll need:
- A sturdy wire basket with a hanging mechanism
- A liner made of coconut fibers, moss, or a pre-made planting mat
- Loose flower or potting soil
- Water-retaining granules
- Slow-release fertilizer or liquid fertilizer
- Suitable plants for the center, edges, and sides
- A bucket or large pot for ease of assembly
The liner prevents soil from falling out of the wire basket. Options like coconut fibers are stable but may dry out quickly, while moss is flexible but requires more effort to secure. A planting mat is convenient but less customizable. If using plastic sheeting, ensure it has holes to avoid water accumulation that could harm the roots.
Step-by-Step Guide to Creating a Hanging Basket
Let’s dive into the process! Begin by placing the hanging basket into a bucket or bowl to keep it steady while you work.
Step 1: Line the Basket
Start by placing the liner inside the basket, ensuring it fits snugly against the wire with minimal gaps. A pre-formed coconut liner is easiest, while moss needs to be packed tightly to prevent soil from spilling out. If using plastic, remember to add holes for drainage.
Step 2: Add the First Layer of Soil
Fill the bottom of the basket with a layer of soil, which doesn’t need to reach the top yet. This layer provides initial support for the first plants. If you’re using water-retaining granules, mix them into the soil at this stage. Press the soil lightly to ensure it’s stable but not compacted.
Step 3: Plant the Side Plants
Next, it’s time to plant the trailing varieties. Make cross-shaped cuts in the liner where you want to insert the plants, ensuring the openings are just large enough for the root balls. Carefully push the root ball through and surround it with soil, being gentle with delicate stems.
Step 4: Fill with More Soil
After planting the side plants, add more soil to secure their roots and prepare for the next layer. Work your way up rather than filling the basket all at once. If you plan to add more side plants, repeat the cutting and planting process.
Step 5: Plant the Edges
When the basket is nearly full, it’s time to add the edge plants. Choose varieties that will cascade over the sides, such as petunias or fuchsias. Ensure the root balls are adequately covered, but allow the stems to grow freely over the edge.
Step 6: Add the Center Plants
Now focus on the center, where you’ll plant upright varieties that provide height. Suitable options include geraniums, marigolds, or small ornamental grasses. Fill in with soil after planting and gently press it down, leaving a small rim for watering.
Step 7: Water Thoroughly
After planting, give your basket a thorough watering. Pour slowly, allowing the water to soak in before adding more. Ensure the basket is evenly moist before placing it in its final position.
Choosing the Right Plants
When selecting plants for your hanging basket, it’s crucial to consider their growing conditions. Here are some suggestions based on light exposure:
Location | Plants | Purpose Sun | Petunias, Verbenas, Geraniums, Calibrachoa | For vibrant blooms Partial Shade | Fuchsias, Begonias, Impatiens, Lobelias | For sheltered spots Shade | Ferns, Ivy, Coleus, Begonias | For foliage and calmer arrangements
In the center, choose plants that grow upright, while the edges should feature those that trail down. Be cautious not to overcrowd with aggressive growers, as they may overshadow smaller plants.
Finding the Perfect Spot for Your Hanging Basket
Positioning your hanging basket is essential for both aesthetics and plant health. It should be visible but out of the way of foot traffic. Ideal locations include the edges of balconies or above pots, avoiding direct placement over seating areas to prevent water drips. Consider these factors:
- Ensure the support is strong enough.
- Protect the basket from strong winds.
- Maintain distance from seating areas.
- Choose a spot that’s easy to reach for maintenance.
- Allow enough space for trailing plants.
- Match the light conditions to the plant requirements.
Wind can dry out the soil quickly, so opt for more compact plants in breezy areas. Under eaves, plants will be shielded from heavy rain but still need your attention for watering.
Edible Hanging Baskets
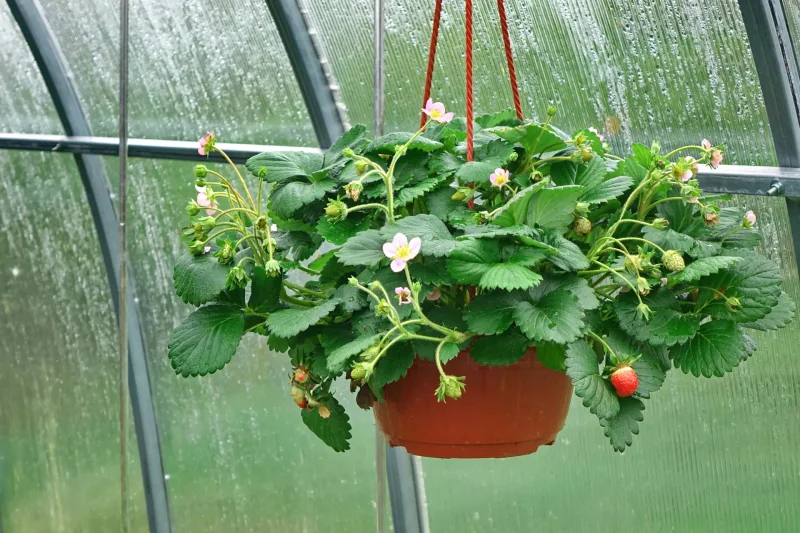
If you prefer not to use traditional flowers, consider creating an edible hanging basket. Strawberries thrive in this setup, as their runners can drape over the edges, keeping the fruit off the damp soil. Pair them with smaller flowering plants or low-growing herbs for an attractive display.
When it comes to herbs, combinations matter. Thyme, oregano, and savory prefer sunny and well-drained conditions, while parsley, chives, and mint require consistent moisture. Be cautious with mint, as it can outgrow its neighbors.
Compact chili plants or bush tomatoes can also work, but they require larger, sturdier baskets due to their heavier weight and higher water/nutrient needs.
Caring for Your Hanging Basket
Hanging baskets dry out more quickly than potted plants due to their limited soil volume and dense planting. Water them slowly and in stages, allowing the water to penetrate before adding more. A rim around the top can help retain water. Check the soil moisture multiple times a day during hot weather. Avoid waterlogging by ensuring proper drainage, especially if using plastic liners.
Fertilization is crucial due to the limited soil. A slow-release fertilizer is a good choice, but liquid fertilizers can also be used with watering. Avoid fertilizing dry soil; ensure it’s moist first to help plants absorb nutrients.
Regular maintenance includes removing dead flowers, dry leaves, and broken stems. If plants become too long or unevenly distributed, trim them back to encourage denser growth. In extreme heat, avoid heavy pruning and just remove any dead or problematic parts.
Seasonal Planting in Hanging Baskets
You can start filling your hanging basket in early spring with pansies, primroses, and small bulbs to welcome color onto your balcony. As summer approaches, switch to vibrant varieties like petunias, verbenas, and geraniums for a lush display.
In autumn, consider heather, grasses, ivy, or small chrysanthemums for a calmer yet still decorative effect. Even in winter, you can plant hanging baskets with hardy varieties like ivy, heather, skimmia, or small grasses to keep your outdoor space vibrant.
With thoughtful planning and care, hanging baskets can enhance your gardening experience throughout the year.